How To Fix A Leaking Mixer Tap in 6 Easy Steps
Dealing with a leaking mixer tap can be frustrating and wasteful, leading to unnecessary water loss and potential damage over time. Fortunately, fixing a mixer tap leak is an easy DIY task that anyone can accomplish in about 30 minutes with essential tools and a little know-how. Whether it’s one of the common mixer tap leaks from the base or another part of the tap, understanding the steps involved can save you time and money.
In this guide, we’ll take you through repairing a mixer tap leak in 6 straightforward steps. You can ensure your mixer taps are functioning perfectly again, stop that pesky leak for good, and prevent further plumbing issues. Tackling this simple DIY job can make all the difference in maintaining an efficient household while keeping your water bills in check.
Gather the Necessary DIY Tools
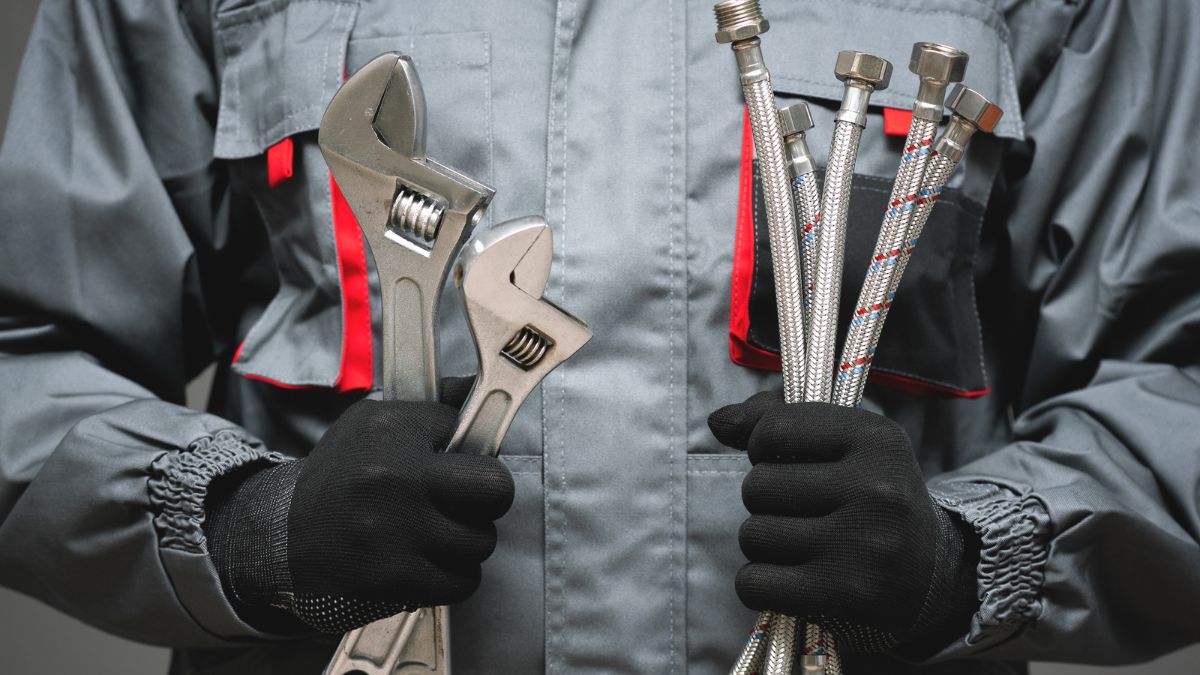
Before starting any home repair project, gathering all the required tools and materials is important. To fix a leaky tap, you’ll need:
- Adjustable wrench – to loosen nuts and connections
- Phillips screwdriver – to remove the handle screw
- Flathead screwdriver – to help with prying open certain parts if needed
- Replacement cartridge or seals (if required) – such as the mixer’s ceramic cartridge or tap washer
- Rags or towels – to contain water drips
- Bucket – to catch dripping water
- Flashlight – to see small connections clearly
These supplies will allow you to complete the repair efficiently and minimise disruption. Whether dealing with leaking taps or a hot water issue, ensuring you have the right tools is critical to success. It’s also wise to have a replacement mixer’s ceramic cartridge available, as this is often the source of a leak. This preparation will make the repair process smoother and help prevent future leaks.
Shut Off the Water Supply Lines
The first crucial step in fixing a leaking mixer tap is to turn off the faucet’s water supply. This prevents more water from leaking while you work and helps maintain proper control over the repair process.
Locate the isolation valves under the sink on the hot and cold water lines. These valves are usually attached to the plumbing system right beneath the basin. Turn the valves clockwise to shut off the water fully. Ensure both hot and cold taps are completely isolated to avoid accidental leakage.
Closing these valves stops the water flow and reduces the water pressure, which is necessary for diagnosing and fixing a dripping tap or several leaking taps. If the isolation valves do not work, you may need to turn off the main water supply for the entire household. This ensures no water continues flowing into the plumbing system while you attempt the repairs.
Remove the Handle and Chrome Ring
With the water turned off, you can disassemble the mixer tap to access the internal components causing the leak. Depending on the design of your tap, you will need basic tools like a Phillips screwdriver, an adjustable wrench, and possibly an Allen key to perform this task.
Begin by removing the handle of the mixer tap. Use your Phillips screwdriver to loosen the grub screw that holds the handle in place. The screw might be concealed under a small plastic cap, so be sure to pop this cap off before accessing it. Once the screw is loosened, gently pull the handle away from the tap body, taking care not to damage the finish.
Next, unscrew the decorative chrome dress ring surrounding the internal rubber seal and the cartridge by turning the chrome ring counterclockwise. Removing these outer components will expose the highly durable ceramic cartridge and the internal rubber seals.
Inspect and Replace the Faulty Cartridge
After removing the chrome ring, inspecting the ceramic cartridge is next. Use a flashlight to view the cartridge better, looking closely for signs of damage, such as cracks, pitting, or corrosion. The cartridge controls the flow and mixing of hot and cold water, and a faulty cartridge is the most common cause of a leaking mixer tap. It will need to be replaced if it is damaged or worn out.
To replace the cartridge, use an adjustable wrench to remove the hex nut holding it in place. Carefully take out the old cartridge and replace it with a new, identical one. Ensure you get the correct replacement part, as cartridges come in various sizes and shapes. The new cartridge should be highly durable to ensure long-term reliability. Installing a new cartridge can often resolve the dripping tap issue without further intervention.
Check and Replace Worn Washers and Seals
While the tap is disassembled, it’s a good idea to check the condition of all internal rubber seals, O-rings, and inlet seals. Worn or damaged seals can also lead to water leaks, allowing water to escape around the cartridge. Scrutinize each of these tap components and replace any that are cracked, worn, or otherwise compromised.
When replacing seals, use new O-rings and inlet seals of the same size as the originals. You can also apply a small amount of plumber’s grease to the new seals before installing them. This will help create a watertight connection and extend the lifespan of the components.
If mineral deposits are present on any of the tap components, you can soak them in a half-vinegar mixture to break down the deposits before replacing the seals. Mineral build-up can interfere with the mixer tap’s proper functioning, and soaking parts in vinegar can help restore their condition.
Reassemble the Mixer Tap
Once you have replaced the faulty cartridge and any worn washers or seals, it’s time to reassemble the mixer tap. Carefully reverse the disassembly steps, ensuring all components are correctly aligned and seated.
Start by inserting the new or cleaned cartridge into the tap body and tightening the hex nut to secure it. Ensure the cartridge is aligned correctly to allow smooth operation of the hot and cold water flow. Replace the chrome dress ring by turning it clockwise until snug, but avoid over-tightening, as this could damage the threads or the cartridge.
Next, reattach the handle to the tap body. Position it correctly, then tighten the grub screw with your Phillips screwdriver. Ensure the handle is secure but moves freely to control the water flow.
Restore the Water Supply
After reassembling the mixer tap, it is time to restore the water supply. Turn the isolation valves under the sink counterclockwise to open them fully, allowing water to flow back into the hot and cold lines. Once the valves are open, test the mixer tap to ensure there is no longer a drip and that the hot and cold taps are working correctly.
If the leak persists, double-check the seals, washers, and cartridges. An overlooked component or an improperly seated cartridge can result in continued leakage. Otherwise, replacing the internal rubber seal and ensuring all components are tightly fitted should eliminate the dripping tap problem.
Repairing a mixer tap requires some patience and basic tools, but it can be accomplished effectively at home. Addressing issues such as faulty cartridges, worn washers, and seals can resolve most problems with leaking mixer taps, helping maintain an efficient plumbing system.
Turn the Water Back On and Test
The moment of truth has arrived! Turn the isolation valves counterclockwise to turn the water supply back on. Once the water is flowing again, closely inspect under and around the tap for any remaining drips or leaks. This will ensure that the repair was successful and that there are no unnoticed issues.
Turn the tap on thoroughly and test the hot and cold water flows. Ensure the water is mixing correctly, and verify no leaks from the base, handle, or connections. Observing the water pressure is also essential, as it should be consistent and robust without sputtering.
You’ve successfully fixed your drippy mixer tap if no water leaks are visible! Enjoy the peace of mind from a properly functioning tap and a well-done job. If any leaks persist, it may be a sign of an underlying issue that requires professional assistance. It’s best to call The Plumbing Life Saver for expert help diagnosing and repairing your leaking mixer tap. An experienced plumber can ensure your plumbing system works effectively and prevent further complications.
Let Us Fix Your Leaking Taps
Repairing a leaking mixer tap is a straightforward and rewarding DIY task that can help you save water and avoid costly repairs in the future. With a few essential tools and a systematic approach, you can successfully stop leaks and restore your mixer tap to proper working condition. Addressing the issue promptly will prevent wasted water and reduce potential plumbing damage.
If you’ve followed the steps and are still facing persistent leaks or need assistance, don’t hesitate to contact The Plumbing Life Saver today for professional leaking tap services. Let us take care of your plumbing needs efficiently and effectively.