Tap Is Leaking At The Base
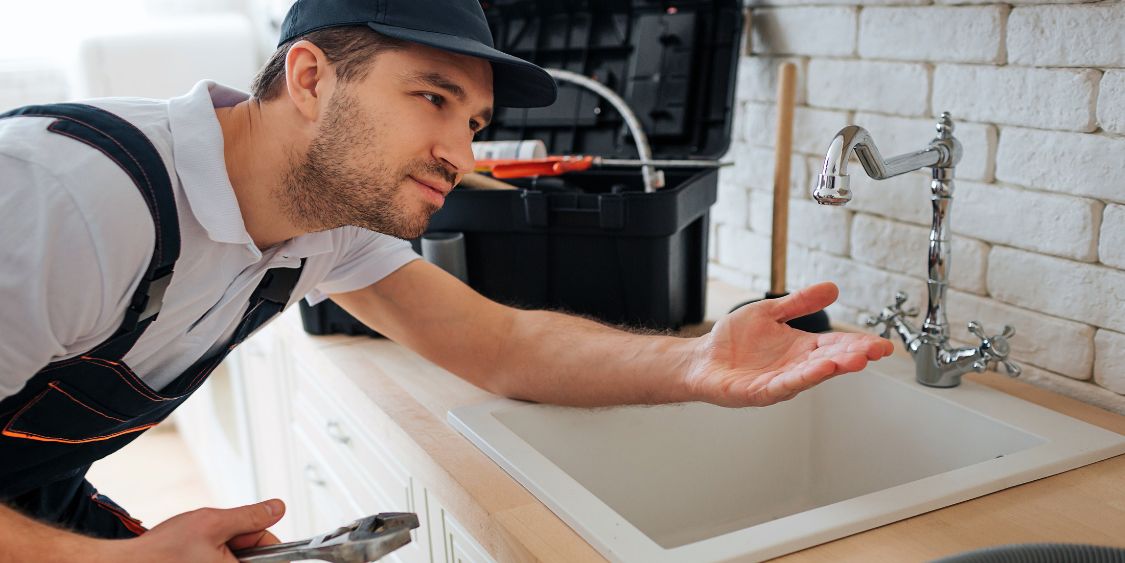
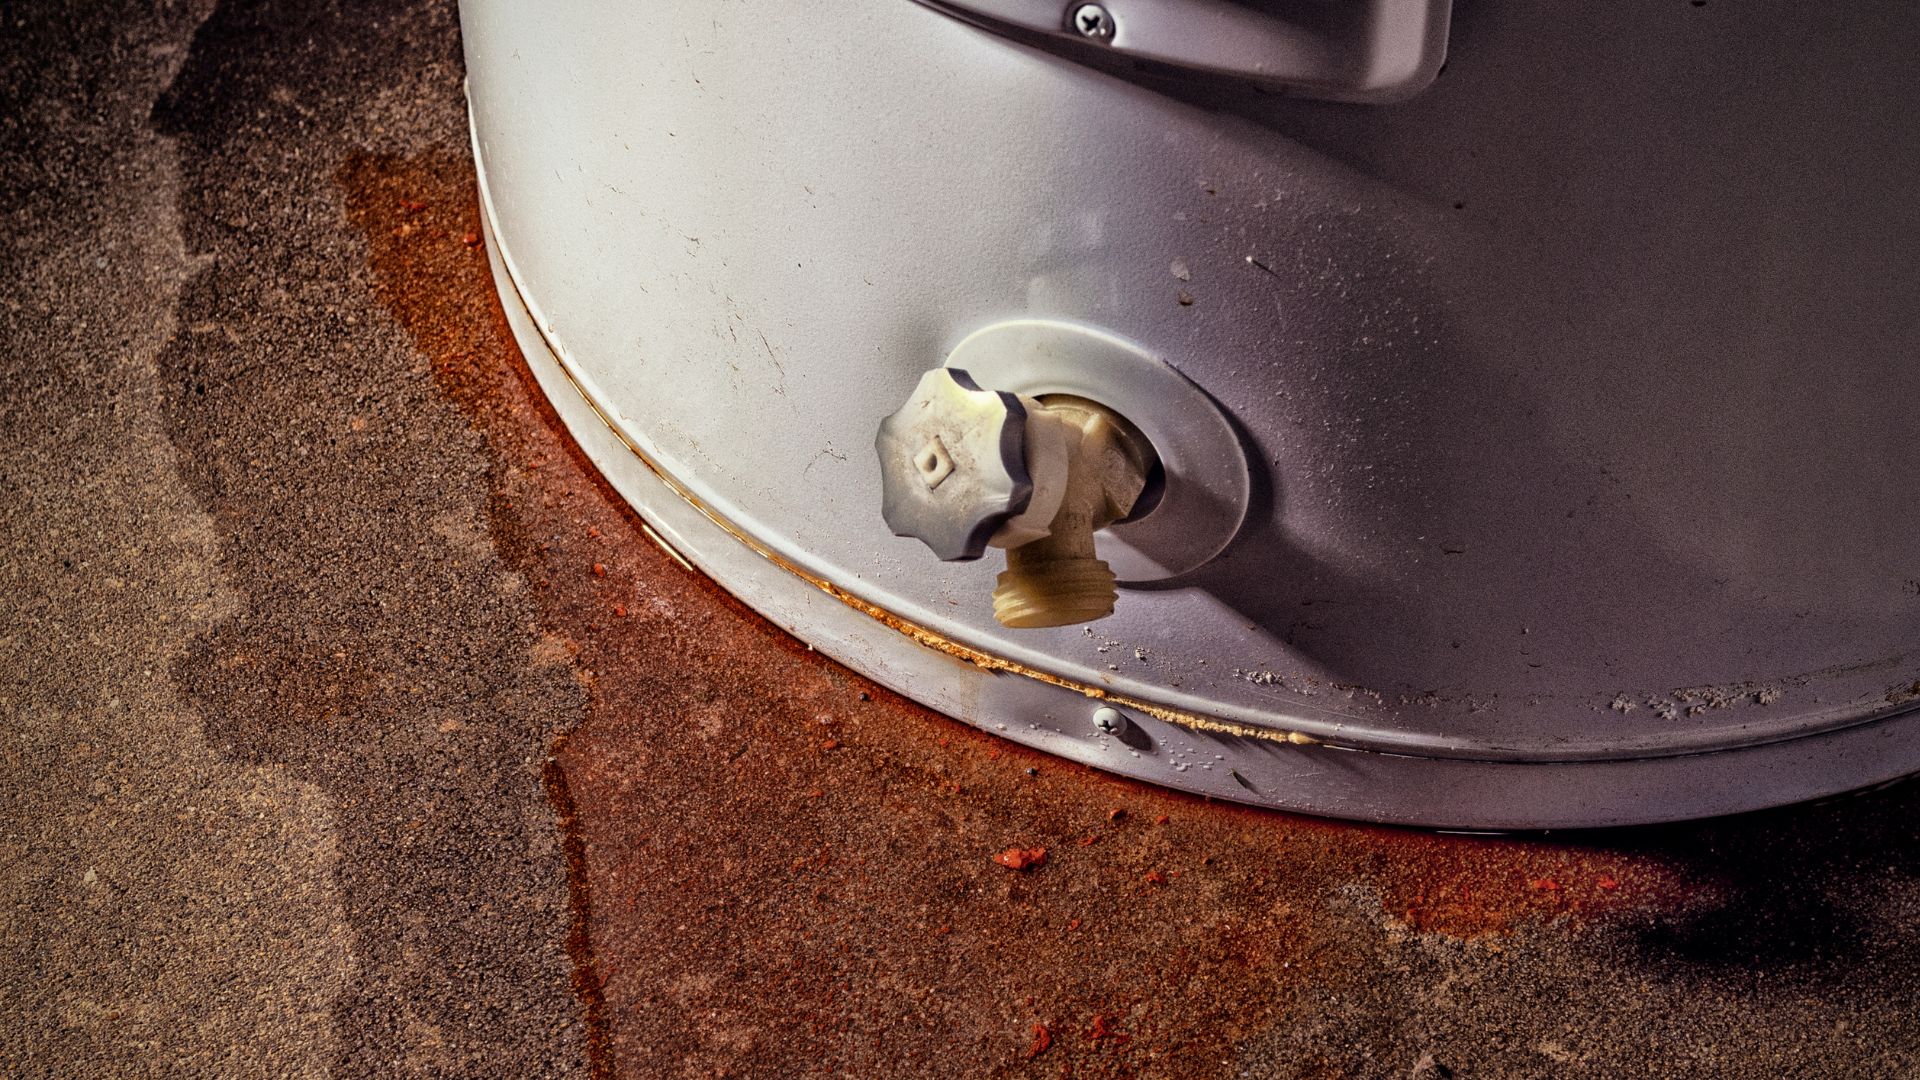
Discovering a leak at the base of your bathroom tap can be incredibly frustrating. A leak can signify underlying plumbing issues, and if left unattended, it may lead to significant water wastage and even damage to your home. This common problem is often caused by worn-out washers or O-rings, which compromise the watertight seal necessary for proper function. Before you call in a plumbing expert for what could be a simple fix, there are steps you can take to troubleshoot the issue yourself.
You can potentially resolve the leak without professional intervention with patience and the right tools. Remember, addressing the problem promptly is key to preventing further complications. Whether dealing with a minor drip or a more significant leak, taking action now can save you time and money. Let’s explore some fantastic service tips to help you fix your tap and ensure it does a fantastic job of keeping water where it belongs.
Understanding Why Taps Leak
Taps can start leaking from the base for various reasons, including regular wear and tear, the build-up of mineral deposits, or improper installation. The water that flows through your taps contains minerals that can corrode or clog tap components over time, leading to leaks. Identifying the root cause is the first step in fixing a leaking tap.
DIY Fix for a Leaking Bathroom Tap
- Preparation: Before you begin, ensure your workspace is clear and organised. Gather all the necessary tools, including a wrench, screwdriver, and replacement parts such as O-rings and washers, which can easily be found at your local hardware store. Being prepared will streamline the process and reduce frustration as you work on your plumbing fixtures.
- Turn Off the Water Supply: To prevent water from flowing and leaking while you work on the leaking faucet, locate the valve under the sink or the main supply and turn it off. This step is crucial, as it avoids any unexpected flooding and allows you to work safely on your mixer tap or hot water tap without the constant worry of water flow.
- Disassemble the Tap: Carefully remove the handle and cover to access the internal parts of the tap. This may require some effort, mainly if mineral build-up or corrosion occurs. Take your time during disassembly to avoid damaging any components, as these parts are essential for properly functioning your plumbing system.
- Inspect and Replace Faulty Parts:Once you have access to the internal components, check the condition of the washer and O-ring. Replacing them with new ones is essential if they appear damaged or worn out. Ensuring these parts are in good condition is vital, as they play a significant role in preventing leaks and maintaining the integrity of your hot water system.
- Reassemble and Test: After replacing the necessary parts, carefully reassemble the tap, ensuring everything is secured correctly. Once reassembled, turn the water supply back on to test if the leak has been fixed. Monitoring the tap for any signs of drips will help confirm that your repair was successful, ensuring your kitchen or bathroom mixer tap operates efficiently without any leaks.
How To Fix A Leaking Mixer Tap Leaking From The Base
Mixer taps combine hot and cold water and are particularly susceptible to leaks due to constant temperature fluctuations. These changes can cause various components to expand and contract, leading to leaks at the base, often where plumbing fixtures connect to the plumbing system.
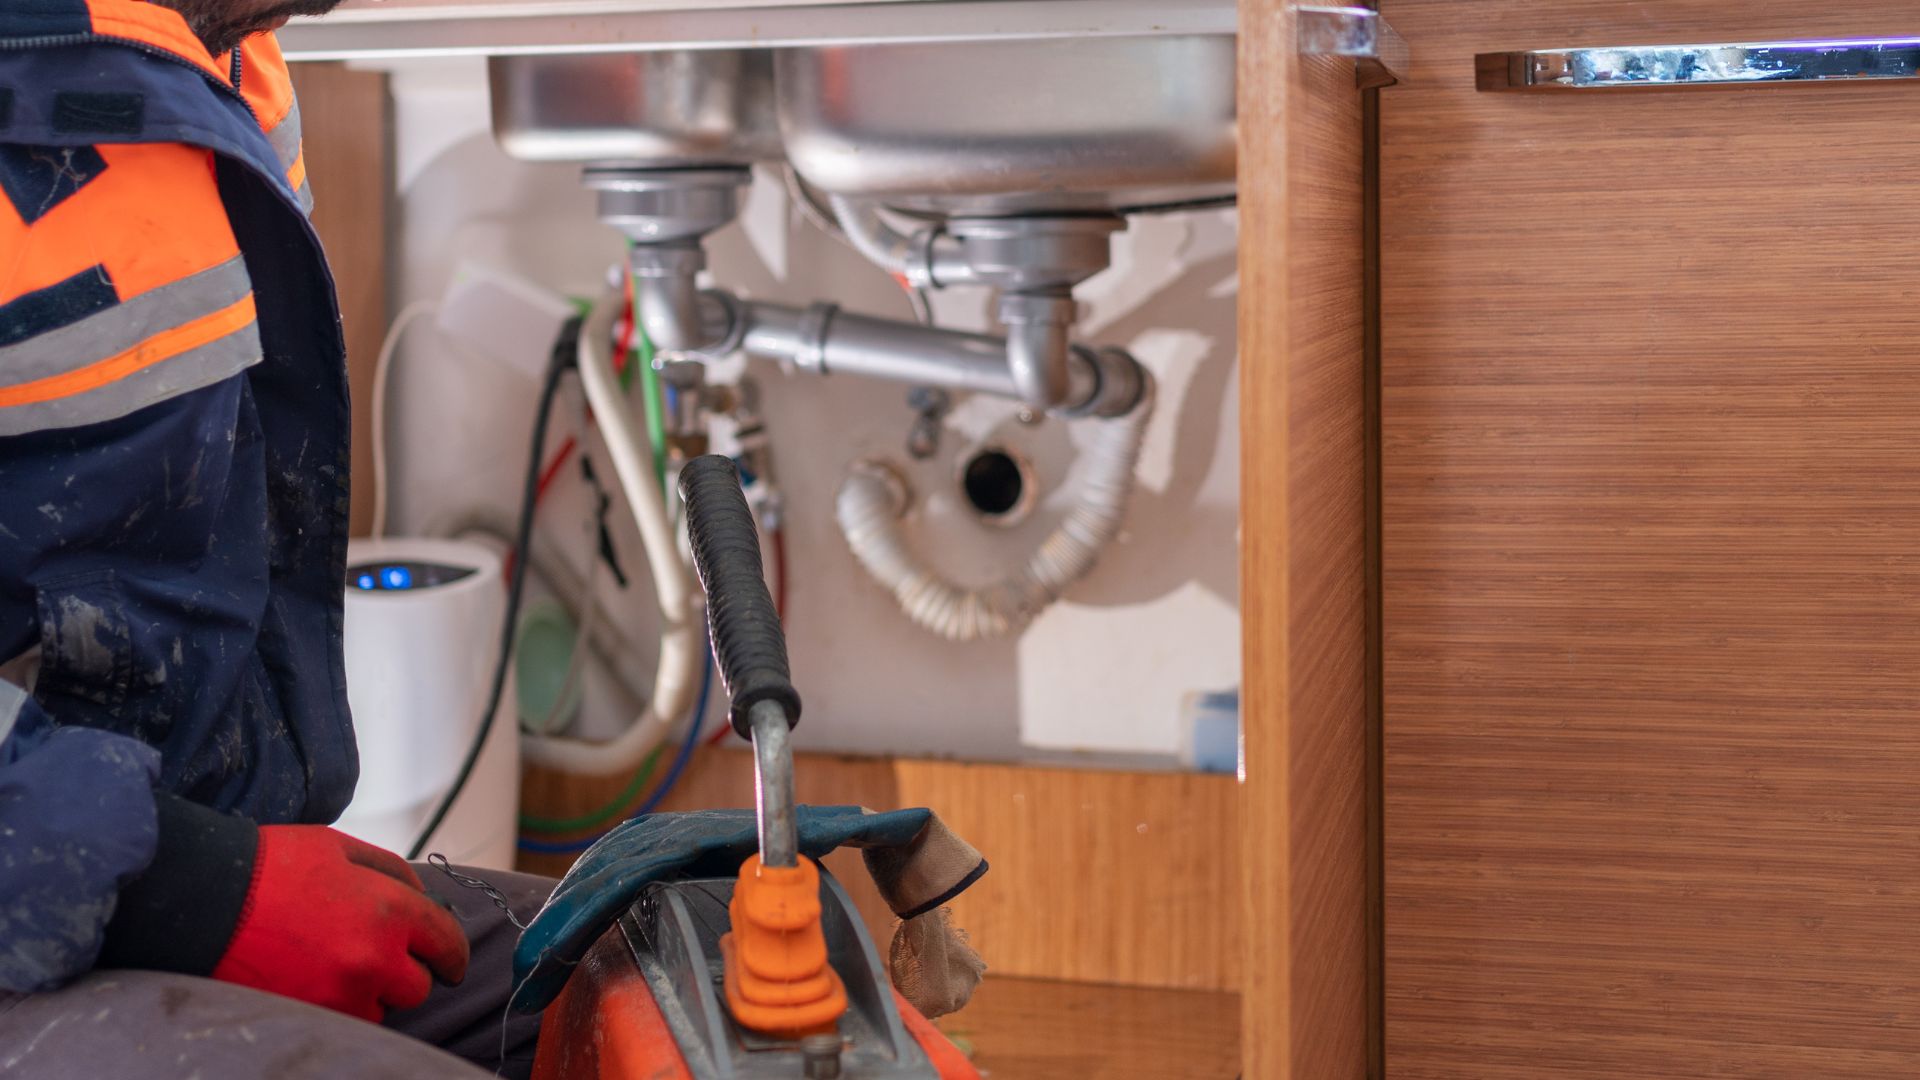
- Diagnosis: Begin by turning off the water supply to your mixer tap. Carefully disassemble the tap to inspect its interior for any signs of wear or damage. Pay particular attention to the cartridge, which plays a crucial role in regulating the flow and temperature of both hot and cold water.
- Check the Cartridge: A damaged cartridge in mixer taps can cause a leaking faucet. If you notice any cracks or wear, replacing the cartridge to restore proper function is essential. This step is vital, as an intact cartridge ensures that your hot water system operates efficiently without leaks.
- Seal and Secure: Once you’ve inspected and replaced any damaged components, ensure that all parts are securely tightened and sealed. This will prevent leaks from reoccurring. By taking these steps, you can effectively fix a leaking mixer tap in your kitchen sink or bathroom, enhancing the longevity of your plumbing fixtures and maintaining a leak-free environment.
Related article: How To Fix A Leaking Mixer Tap in 6 Easy Steps
Preventative Measures
Regular maintenance can prevent leaks from developing. This includes cleaning your taps to remove mineral deposits, checking for signs of wear, and replacing parts before they fail.
Conclusion
Fixing a leaking tap at its early stages can save water and prevent damage. The steps outlined above can help you address common issues with leaking taps. However, if the problem persists, it may be time to consult a professional.
CALL THE TAP REPAIR EXPERTS!
If you’re faced with a stubborn leak that won’t quit, it’s time to call in the experts. At The Plumbing Life Saver, we understand the urgency of fixing a leak to save water and money. Our team is ready to provide quick and reliable service to address your leaking tap repairs or plumbing needs. Contact us today to ensure your taps are in top condition.
Related article: What to do About Water Leakage in Your Walls?


